f-log

just another web log

30 Dec 2018:
oh dear what can the glossy be
So now I have a HDRi to light the Raspberry Pi HiRes Project.

Here we have the basic height map on a plain circuit board. Using a Bump node to feed the Normal input of Diffuse BSDF.
blender screen shot showing height map on a raspberry pi

Then when I added the gloss map as an additional (but slightly lower) height map we get annoying ridges. I expected the white+white would equal white and the same max height, I was wrong :(
blender screen shot showing combined height maps on a raspberry pi

So to combat this I set a maximum one from the other. The Subtract node is there to just make the gloss source a little less intense as a height map.
blender screen shot showing combined height maps on a raspberry pi balanced with maximum limit

With height all sorted lets move on to gloss. Cool! it just works.
blender screen shot showing gloss map on a raspberry pi

But mixing the Gloss and the Height maps does not work :( I tried quite a few combinations.
blender screen shot showing gloss map and height maps on a raspberry pi, not looking right

Hmmm now it looks like it is has water spilled over it. This made me go back and manually redraw a load of circuit traces.
blender render of 3D a raspberry pi textures not quite right

The quest for the perfect Pi continues !
30 Dec 2018:
krita luminance quick tip
Very quickly. Not only can Krita save true 16bit images (.hdr/.exr) but is can also edit the luminance values.

To do this go to Settings->Docker->LUT management.

The Krita documentation talks about setting up LUT profiles on your graphics card to match your monitor but if all you want to do is play, then just "LUT management" will do.
30 Dec 2018:
fake hdri from a blue pixel gimp curve
So to improve the Raspberry Pi HiRes Project work I needed better lighting. I love the idea of HDRi High Dynamic Range images but to create them correctly takes a lot of time and specialist equipment.

It does not help that there are various uses for HDRis and that can get people very confused. When I am talking about HDRi it is for 3D lighting in Blender but when Googling the internets most discussions are on HDR photography and Tone-maps to produce interesting photographic results.

In my head it is very simple, a Equirectangular image describing 360° and a luminance map defining what is bright and what is not. When doing this correctly, multiple shots of the same scene are taken at different exposures and combined to create a true HDRi.

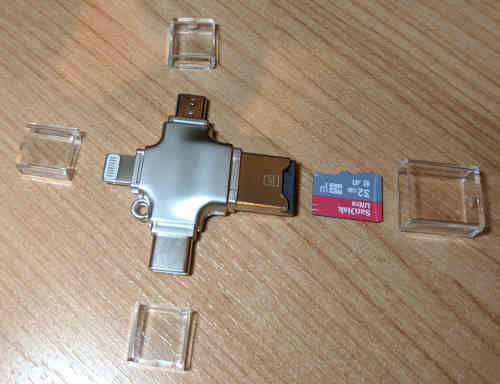
Well, it took some searching but I finally found a process to create my own HDRis with only a few bits of software, my Pixel phone and the SD card reader from xmas 2018.

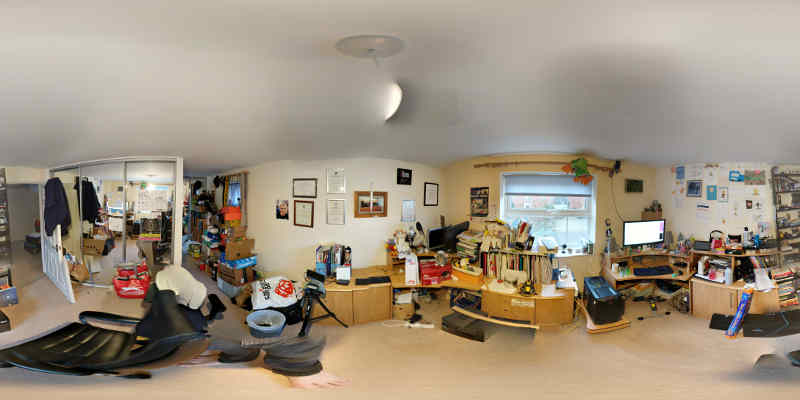
Step one; Get a 360° image.
Ignore Google documentation that says only the Pixel2 and 3 can take Photo-Spheres.
Take a Photo-Sphere with the Pixel Blue. This requires trying to keep the camera still while twisting it to take 30 or so images of all angles.
Wait for the magic. This removes all the ugly edges but can create some weird blurring. As this is only going to be used as lighting in Blender I made little effort to keep it perfect.
Insert SD card in to the USB Type A connector port on the reader and attach the USB Type C connector to the Pixel phone. Use Explore to copy JPG image across.
Then eject USB and plug the USB Type A connector directly in to the Linux PC without removing the SD card, copy the file.
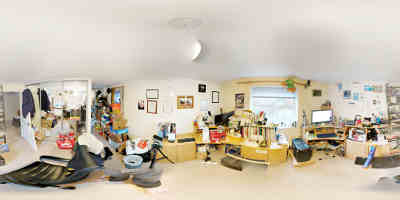
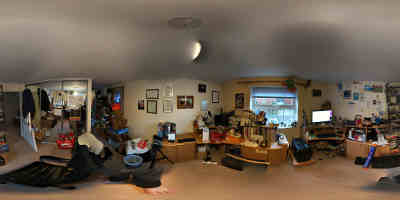
Step two; Fake exposures.
I found an old tutorial for using qtpfsgui now called Luminance HDR. It had a quick note at the bottom about faking exposures in GIMP
Using the Curves tool, drag the center point one grid reference diagonally down for underexposure and save it and then do the same, one grid reference diagonally left and up to create and overexposure.
Hit a small problem here Luminance HDR wants true 16bit input files and the Linux version of GIMP does not have that yet! Luckily Krita does.
Krita is super powerful but really aimed at professionals. To get the images saved.
Load them up one at a time and go to Image-> Convert Image color Space-> 16bit then save as exr/hdr (exr seems to be better when in Blender .
Step three; Create and HDRi.
Luminance HDR is a bit overwhelming but the tutorial said to just accept the defaults. When the exposure values are found missing enter 0 for the original, +2 for the overexposed image and -2 for the underexposure.
After a short while it creates a true HDRi. Obviously YMMV with your own images.

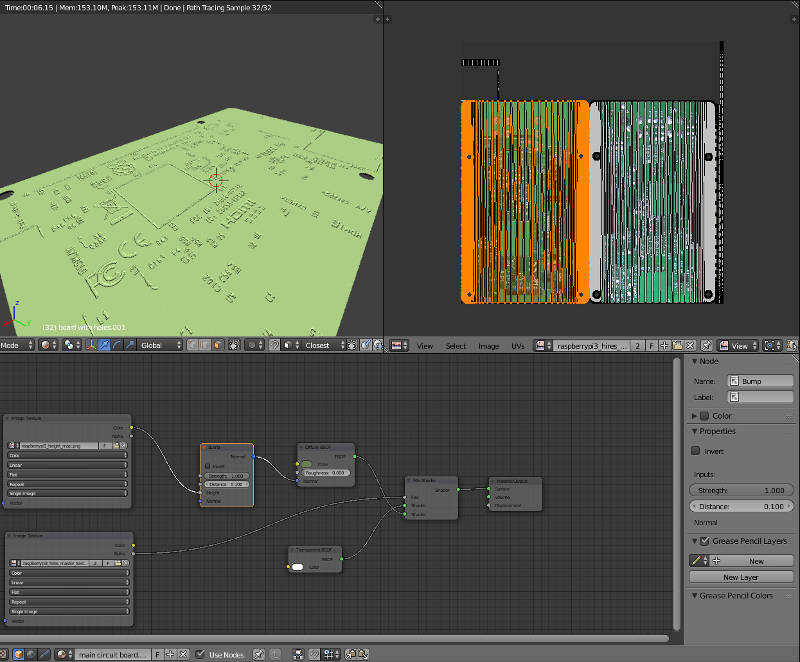
Finally we can set the Texture type to be Environment for the Background in Blender and add the HDRi. When I tried the .hdr file I needed to set the power to 125 whereas the .exr just worked.

360 photograph of my home office taken with Pixel Blue
360 photograph of my home office taken with Pixel Blue overexposure faked in GIMP
360 photograph of my home office taken with Pixel Blue underexposure faked in GIMP

30 Dec 2018:
gifted lightmine craves sd card phone adaptor
The Raspberry Pi HiRes Project is not going as well as I had hoped. The height map and gloss map interfere. I can get the to not effect each other but then I loose the functionality of the gloss.

So here we have a quick look at some Xmas presents I got this year, there is method in my madness.

The big lump of metal is just a key-ring with screwdriver bits, very heavy. The Sea-mine looking thing is called a light-mine and each protuberance is a magnet. It has a bright LED and an On/Off switch and that is it. Can be stuck to a car or PC chaise with the LED pointing where it is needed.
photograph of metal key-ring and lightmine

But the best was this SD card reader for phones. One connector is Lighting for iPhones, standard micro USB for Android and older devices and USB type C for newer gadgets like my Google Pixel Blue phone. If that was not cool enough, the Type A USB connector for the PC has the SD card reader built in! The block of plastic that defines which way up the Type A connector is used is thin enough to accept my Micro SD card and still work as a USB thumb-drive in Linux
photograph of SD card USB phone adaptor

Now why am I tell you all this?

"please hold the line ... normal service will resume shortly"
27 Dec 2018:
metal map hampered by saturation bleed as expected
I want to track the hours now on the Raspberry Pi HiRes Project.

So;
1hr playing with Materialize, excluding all the time watching tutorials. Time, not wasted, but lost :(
1hr marking the paint as the height map.
2hrs trying to get the traces for the shiny map.

The shiny/metal/smooth (or whatever fits) map is a real pain. The Height map was based off where the white paint was on the board. The electrical traces are almost the same colour as the board and because of my less than stellar photography it is not a neat isolatable shade.

That said I did get to use the GIMP Curves and Contrast/Brightness to capture a lot and I then drew a number of traces with ease by hand.

Here is the final map scaled down, bit messy.
black and white trace map for a raspberry pi 3b

You can see three different types of traces on the map. Traces that came out with GIMP selection, traces that are very messy and obviously contain non-trace elements based on colour/saturation bleed. And traces that I drew by hand. Using the GIMP line tool I found that holding down CTRL would constrain the angle. You can see the before-and-after where the angles are not quite 45 and 90.
black and white trace map sample for a raspberry pi 3b

This all in contrast to the height map.
black and white height map for a raspberry pi 3b
23 Dec 2018:
selecting a height map of Pi paint
It is like a writers-block clearing. All of a sudden I *have* to create, I cannot watch TV or play games!

Well it is back to the Raspberry Pi HiRes Project!

I had a look at Materialize and it is crazy powerful for creating height/normal/smooth maps and the tutorials really show how good it is. But after some playing around I found my Pi source images are not good enough, what with colour bled and bad contrast.

For the last hour I have been going through with GIMP selecting any white paint and then switching to a Black layer and filling the selection with White. Then hiding the Black layer and Clearing the selection on the main image.

This has worked really well to be all the weird bits of colour/shadow/bleed etc.

Once this height map it done I will move over to the Smooth/Shiny map.
21 Dec 2018:
xmas early with delays paid for by amazon coins
Random flog log:
Today was the Xmas party on time :- too early, burger delay, pizza fallback all paid with amazon coins.

Slight expansion; Amazon refused to take my money(J) and after jumping through multiple hoops found that we had bought something twice when all attempts had reported failure.

Most of the my time spent trying to bypass all the "help" on the amazon site and speak to someone.
11 Dec 2018:
a dust machine eats zombie drives
I did something very rare a couple of days ago. I rebooted my machine, total up-days 116, which is my expected estimate/average.

I have a old spinning rust HDD that I only ever kept to use as a scratch drive and every year I marvel that it still works. It holds things like Raspberry Pi disk images and random stuff that is not really important but often is big. The drive is slow.

One of it's jobs is holding podcasts downloaded by podget/cron in expectation that I will insert a USB key and run my podcast scripts. Then it stopped working, dead, linux did not recognise the drive being connected :(

But what was worse was that when I rebooted the machine my original SSD (48GB) also failed to show!

I shut the machine down and opened it up. Hmmm, it is full of dust! So I then spent 30mins just carefully blowing in compressed air and hovering up the dust that came up. All the fans were pretty gummed. Then I wiggled all the cables, nothing felt loose and then sighed and said goodbye to the drives :(

Booted up and magically both drives came up happy as anything. Not to mention the machine is now whisper quiet!
loading results, please wait loading animateloading animateloading animate
[More tags]
rss feed

email

root

flog archives


Disclaimer: This page is by me for me, if you are not me then please be aware of the following
I am not responsible for anything that works or does not work including files and pages made available at www.jumpstation.co.uk I am also not responsible for any information(or what you or others do with it) available at www.jumpstation.co.uk In fact I'm not responsible for anything ever, so there!